No edit summary | (expanded page) | ||
| Line 1: | Line 1: | ||
=Background= | |||
During the last great Sin War when the {{iw|Horadrim Horadrim}} were fighting {{iw|Baal Baal}} his {{iw|soulstone Soulstone}} was shattered. The leader of the Horadrim, [[Tal Rasha]], made a plan. Baal was imprisoned inside the biggest remaining shard, but since the stone couldn't fully contain him, Tal Rasha then imprisoned himself, tied against a stone sealed alive in [[Tal Rasha's Tomb]], there to struggle with the demon for all of eternity. | |||
=In Game= | |||
In the game we are told that Tal Rasha's "great sacrifice" was actually in vain, and an act of great hubris since Tal Rasha was soon corrupted and Baal has been freed (we see Marius freeing him in the Act 2 Cinematics). | |||
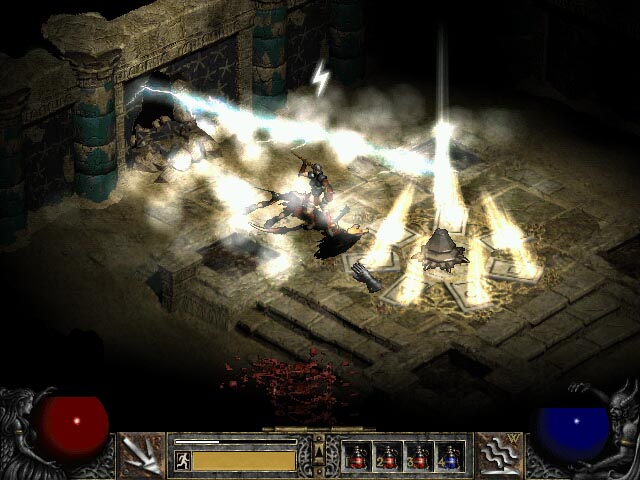
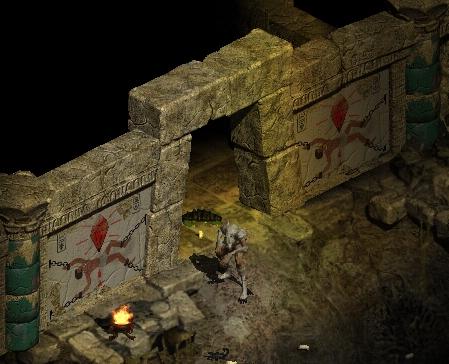
The First screenshot shows the entrance to the tomb, near the end of Act II. [[Act Two]]. The tomb is opened by completing the [[Horadric Staff]] and then inserting it into the cone on the floor, which triggers the lightning you can see in the screenshot. The Second screenshot shows a tomb-painting in the interior, where wall art tells the story of what happened here. | |||
[[Image:act2-020lrg.jpg|frame]] [[Image:Talrasha_tombpainting.jpg|frame]] | |||
[[Category:Act II]] | [[Category:Act II]] | ||
Revision as of 22:00, 26 February 2009
Background
During the last great Sin War when the Horadrim were fighting Baal his Soulstone was shattered. The leader of the Horadrim, Tal Rasha, made a plan. Baal was imprisoned inside the biggest remaining shard, but since the stone couldn't fully contain him, Tal Rasha then imprisoned himself, tied against a stone sealed alive in Tal Rasha's Tomb, there to struggle with the demon for all of eternity.
In Game
In the game we are told that Tal Rasha's "great sacrifice" was actually in vain, and an act of great hubris since Tal Rasha was soon corrupted and Baal has been freed (we see Marius freeing him in the Act 2 Cinematics).
The First screenshot shows the entrance to the tomb, near the end of Act II. Act Two. The tomb is opened by completing the Horadric Staff and then inserting it into the cone on the floor, which triggers the lightning you can see in the screenshot. The Second screenshot shows a tomb-painting in the interior, where wall art tells the story of what happened here.


